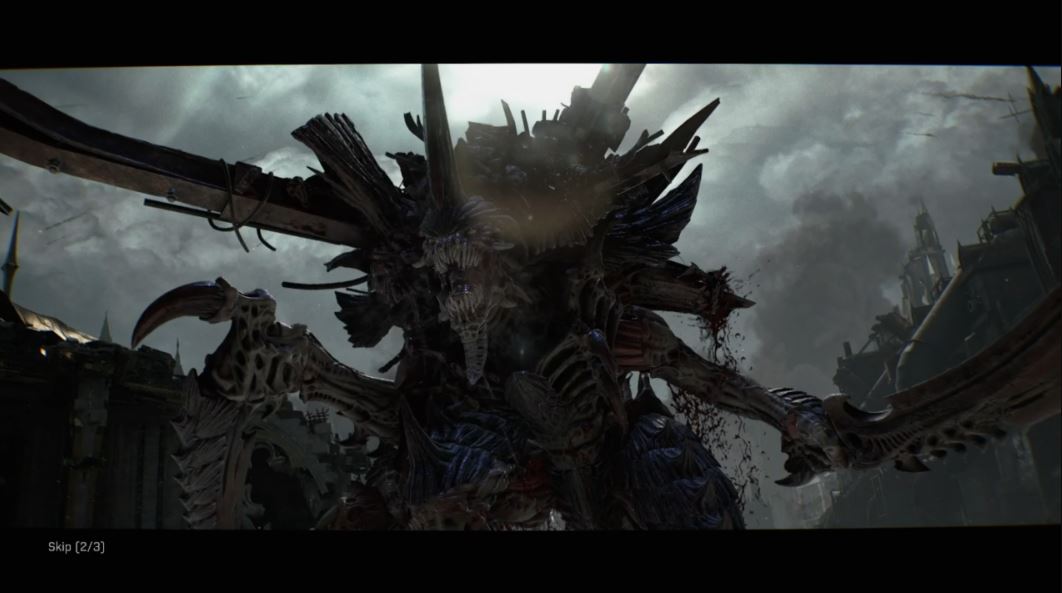
After toppling a giant statue on the Hive Tyrant resulted in its unsuccessful demise, you and your team of Space Marines must go down to the wreckage and finish what you started. As the final boss in Warhammer 40,000: Space Marine 2’s Decapitation operation, this massive Tyranid commander can easily overwhelm players with its relentless attacks, massive health pool, and swarms of Tyranid backup. But with enough patience and strategic timing, you’ll be able to manage everything this boss throws at you.
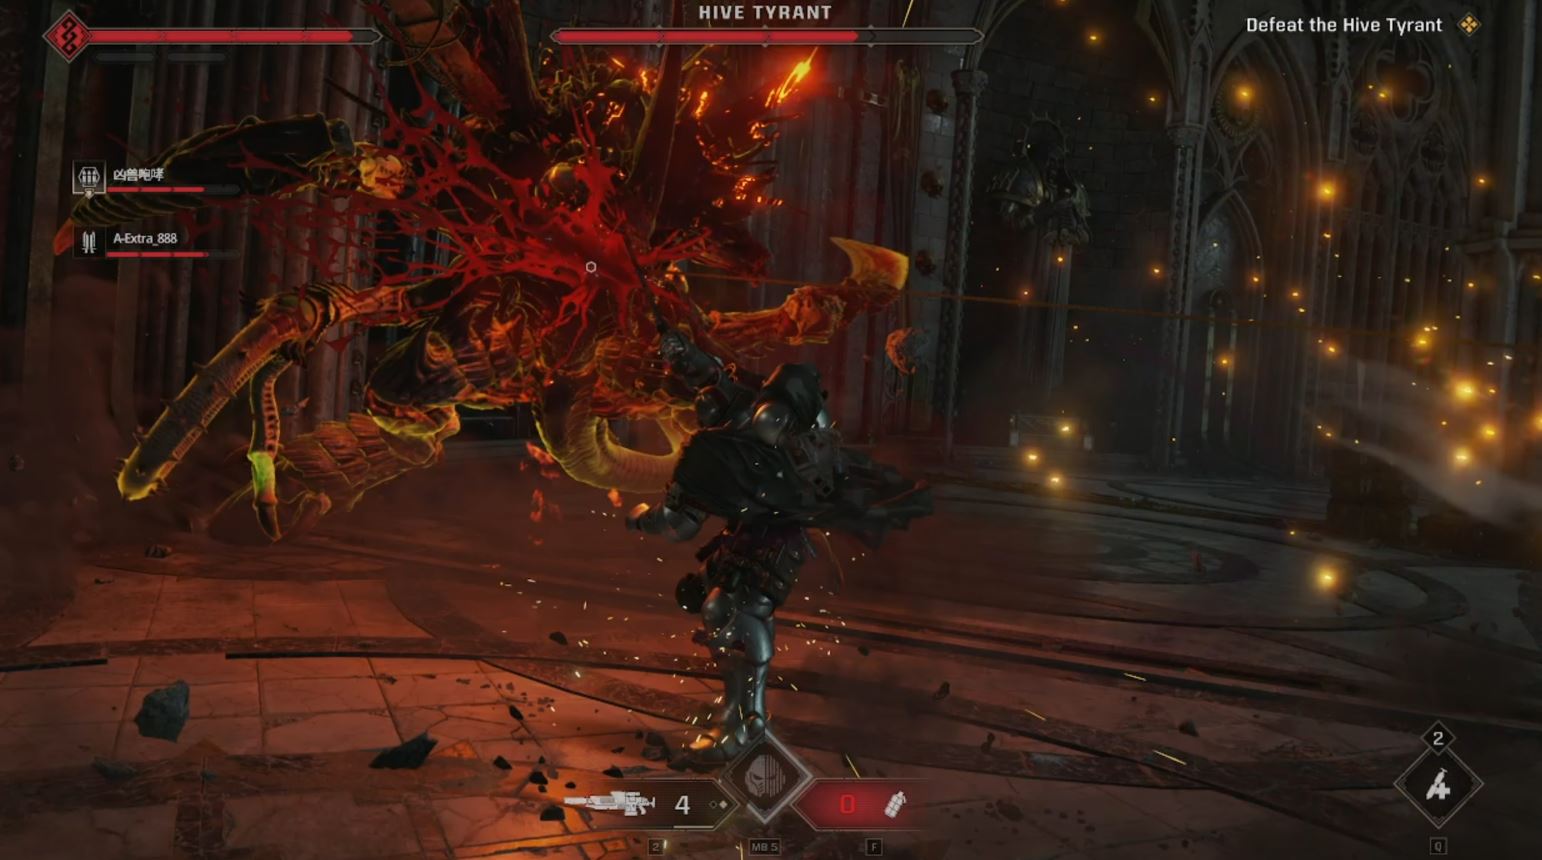
The Hive Tyrant loves to close the gap as much as possible
As soon as the battle begins, the Hive Tyrant will immediately jump at your team and begin attacking with close-range melee attacks. Just like the Majoris-level Tyranid Warriors that carry a whip and a sword in each hand, the Hive Tyrant will alternate randomly between attacks that can be parried (signaled by a blue flashing light) and dodged (signaled by an orange light).
The Hive Tyrant’s deadliest move is a dash attack that covers a good chunk of the boss arena – allowing it to reach even the furthest of snipers. This attack must be dodged and is often followed by other attacks afterward. Successful parries and dodges will result in opportunities to Gun Strike the boss, resulting in some respectable damage.
Properly managing this boss’s attack patterns with your team in conjunction with fighting the additional enemies will ensure that the Hive Tyrant’s health bar goes down quickly. Take note that an ammo cache spawns randomly at the back of the arena, just like the Heldrake boss fight in the Reliquary operation. Be sure to coordinate with your team so that one can cover the other while they stock up on ammunition.
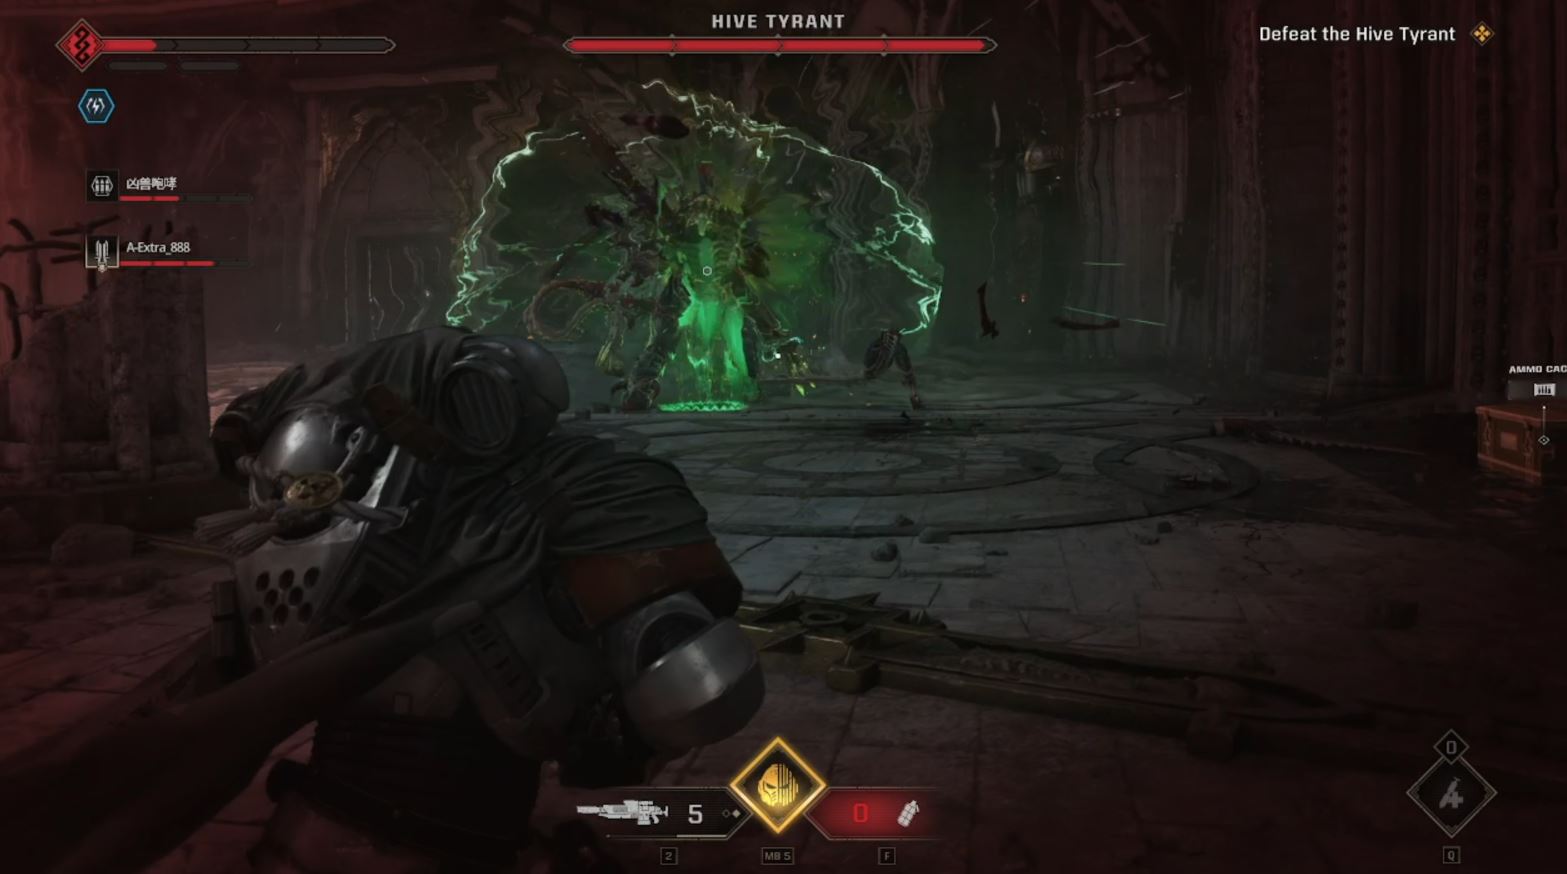
The Hive Tyrant’s second phase opens with its deadly multi-pulse attack
You read that right. Taking a page right out of the Soulslike genre handbook, the Hive Tyrant’s life bar refills after its first defeat and is ready for round two. In addition to its melee attacks, the Hive Tyrant gets three new ranged attacks added to its repertoire.
The first and arguably deadliest of these new attacks is a green multi-pulse blast that covers almost the entire arena. The Hive Tyrant keeps still and roars as it does this attack, with the only way to avoid getting damaged (and possibly stunlocked) is by dodging/rolling through the pulses as they come. There isn’t much time to damage the boss between the pulse blasts, so you should just focus on dodging the Hive Tyrant’s attacks instead.
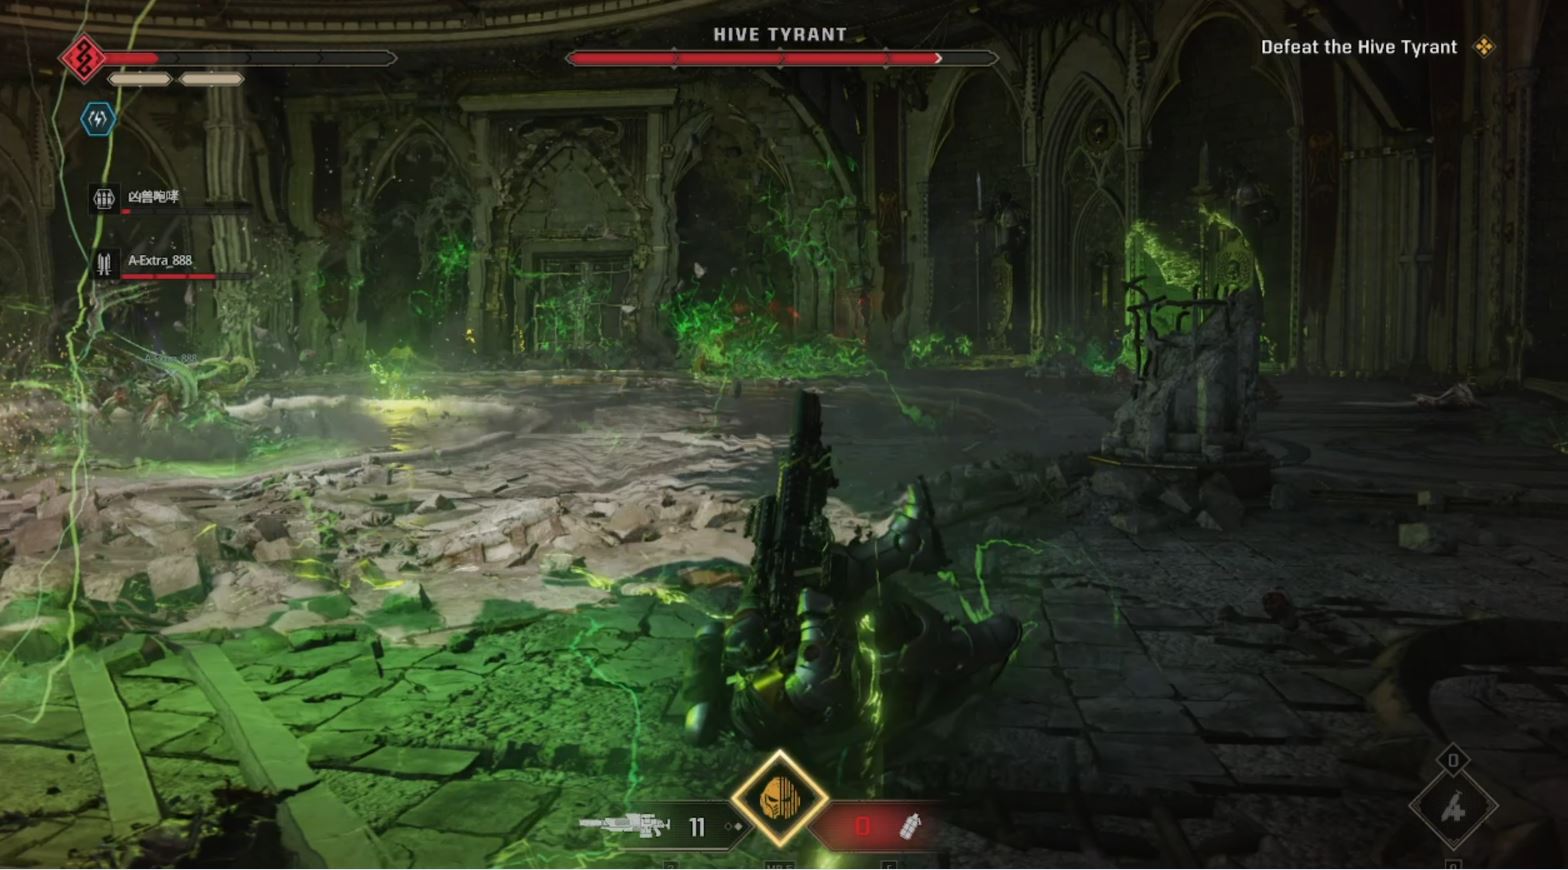
Green area strikes can happen at any moment
The second of the Hive Tyrant’s new attacks comes in the form of green area blasts that highlight their target areas before exploding. These blasts seem to have a mind of their own, as they tend to track your position. Take note that this attack is passive, so the Hive Tyrant can still go about making your day miserable as you dodge area blasts.
While these are fairly easy to dodge, having to deal with area blasts in conjunction with the Hive Tyrant’s attacks and the additional Tyranid enemies can overwhelm you. Be careful when aiming down sights during the Hive Tyrant’s second phase, as you can easily find yourself in an area blast’s explosion radius. Otherwise, keep dodging these attacks and hope that they don’t last too long.
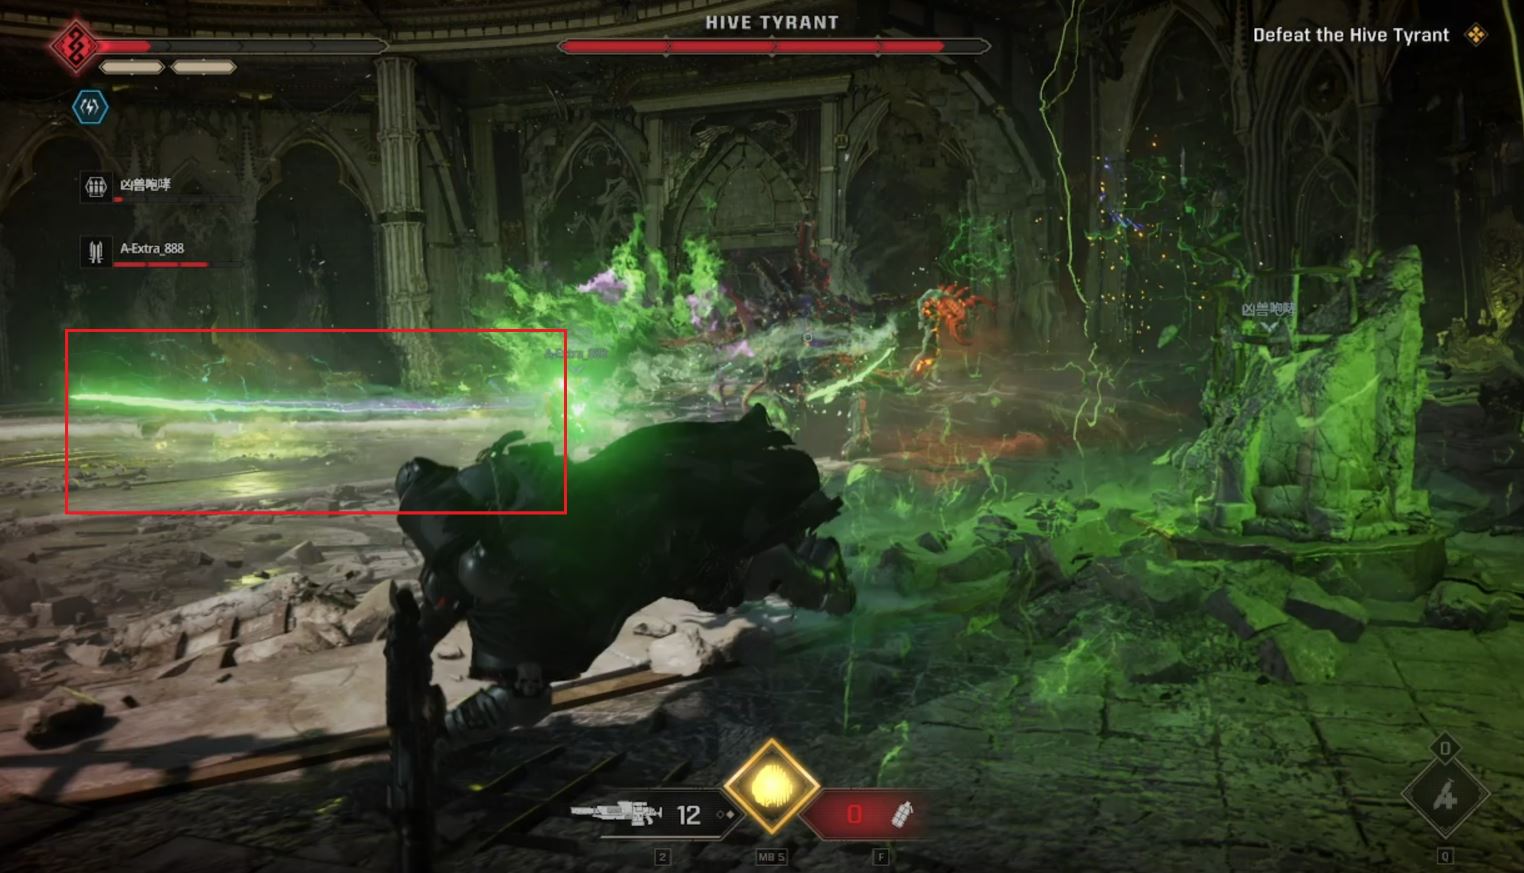
A new energy wave attack covers the Hive Tyrant’s previous weakness for melee-centric combat
Because it got tired of chasing your team around in the last phase, the Hive Tyrant’s third and last new attack is a series of green energy waves that are added to the boss’s classic slash attacks. These energy waves don’t always come out when the Hive Tyrant attacks, but being at a medium to far distance from the boss seems to trigger them more. Those who like to fight at these distances should be mindful of the Hive Tyrant’s new effective range and adapt accordingly.
The Hive Tyrant has roughly the same amount of health in both of its phases, but the amount of enemy and projectile management you have to do in the second phase makes it a longer fight. Be patient, don’t get too greedy with your attacks, and your objective to slay the Hive Tyrant will be complete soon enough.
Not satisfied with your Space Marine’s appearance? Check out our ultimate guide to changing your armor color in Warhammer 40,000: Space Marine 2.