Publication date of the original Japanese article: 2021-05-05 11:59 (JST)
Translated by. Sachi Salehi
We continue our insights into how to use photo modes in games, which are brought to you by our dance photographer author. Following the previous installment on focus, this edition will be going over retouching.
By retouching your captures you can adjust brightness and colors, giving you control over the impression your photos give off to create the perfect picture. As an extra side-topic, we’ll also go over how to manipulate lighting in games with lighting functions.
Related Articles:
Understanding Angle of View & composition
How to create a cinematic bokeh effect
Retouching refers to the editing of photos through methods such as correction, adjustment, manipulation, and compositing. This article will mainly focus on settings related to “brightness” and “color”.
The goal of retouching is to adjust the impression of the photo; it is important to keep in mind how you want your photo to be viewed and impression you want it to give off while retouching. If you ever feel lost, keeping in mind to make adjustments that help the “star of the screen” shine is a good rule.
Brightness and its effects
On-screen you’ll find that there are bright areas and dark areas. Generally, the viewer’s gaze is more easily drawn to areas that are bright, or areas with high contrast. You might be able to visualize this if you think of something glowing against a dark background, or someone wearing black against a white like background.

There are often two components to brightness settings: “exposure”, which adjusts the brightness of the entire screen, and “contrast”, which adjusts the difference between the bright and dark areas. You can convey an airy freshness by increasing the overall brightness or be bold and impactful by increasing darkness.
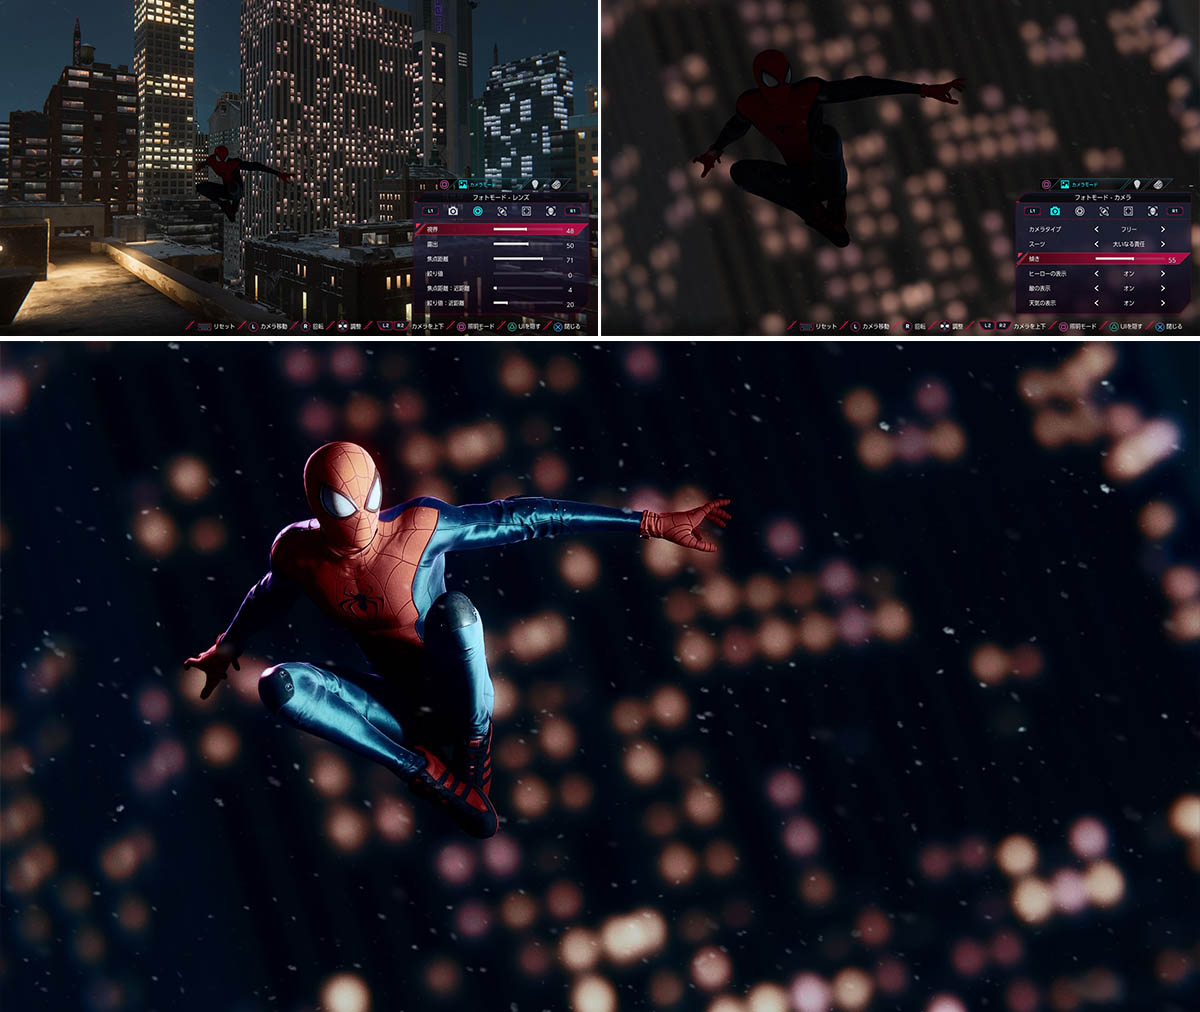
Subjects that call for emphasizing qualities like delicateness and softness are some situations where you may want to adjust the overall brightness of your image to be on the brighter side. This adjustment also pairs well with the bokeh effect and using them together can give your capture a very gentle finish.
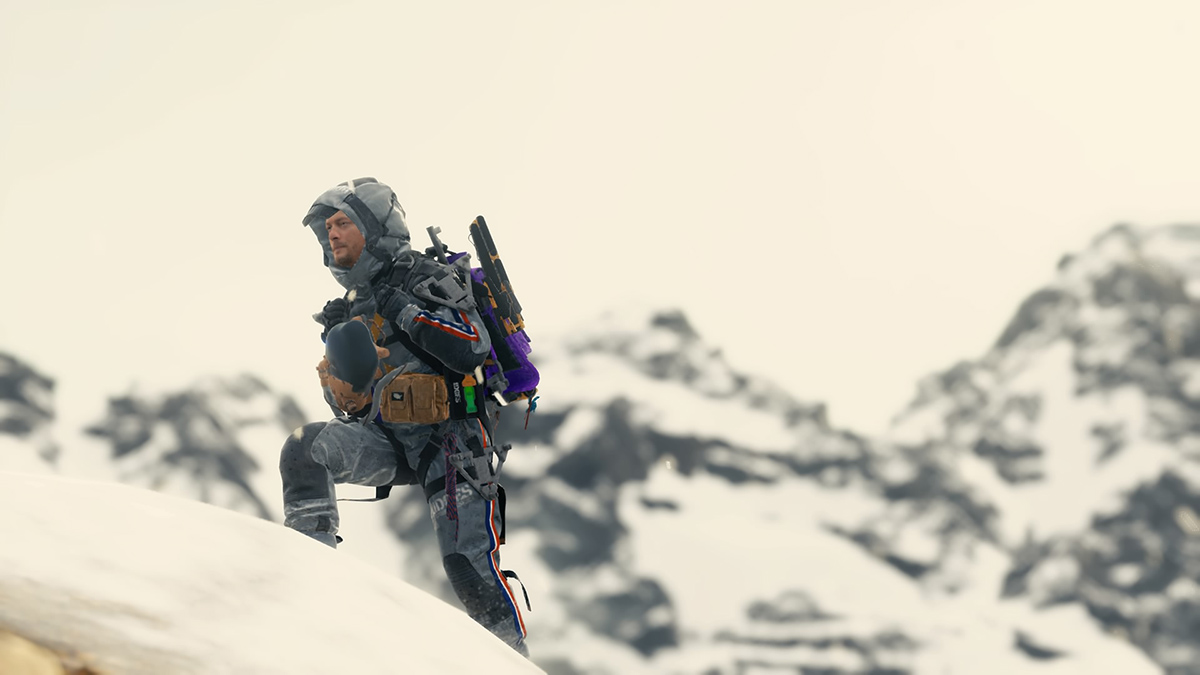
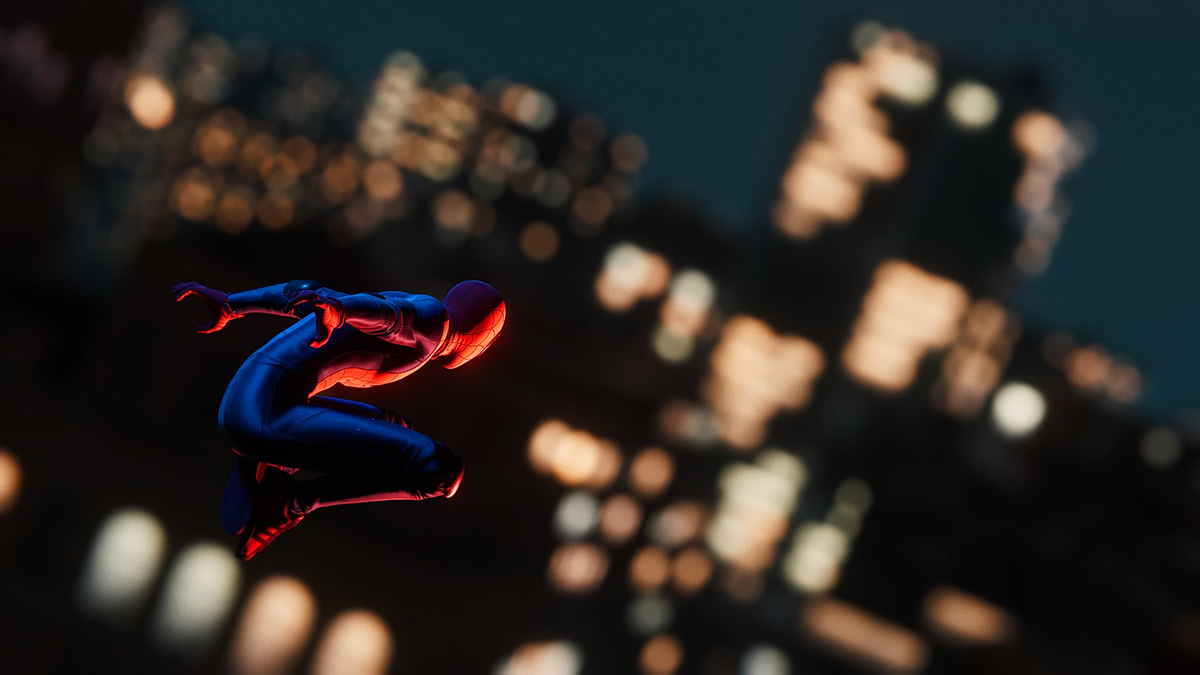
Darker adjustments work well when emphasizing qualities such as hardness and heaviness, or when asserting the presence of your subject. Some specific examples include scenery at sunset, mechas, or people with gloomy expressions.
Increasing contrast will increase the difference between the bright and dark areas. In other words, the brighter areas will become closer to white, while the dark areas become closer to black. The subtlety of the middle ground between bright and dark will also be lost. As for the impression it gives off, a higher contrast will add a sharp definition, giving off a strong and hard impression.
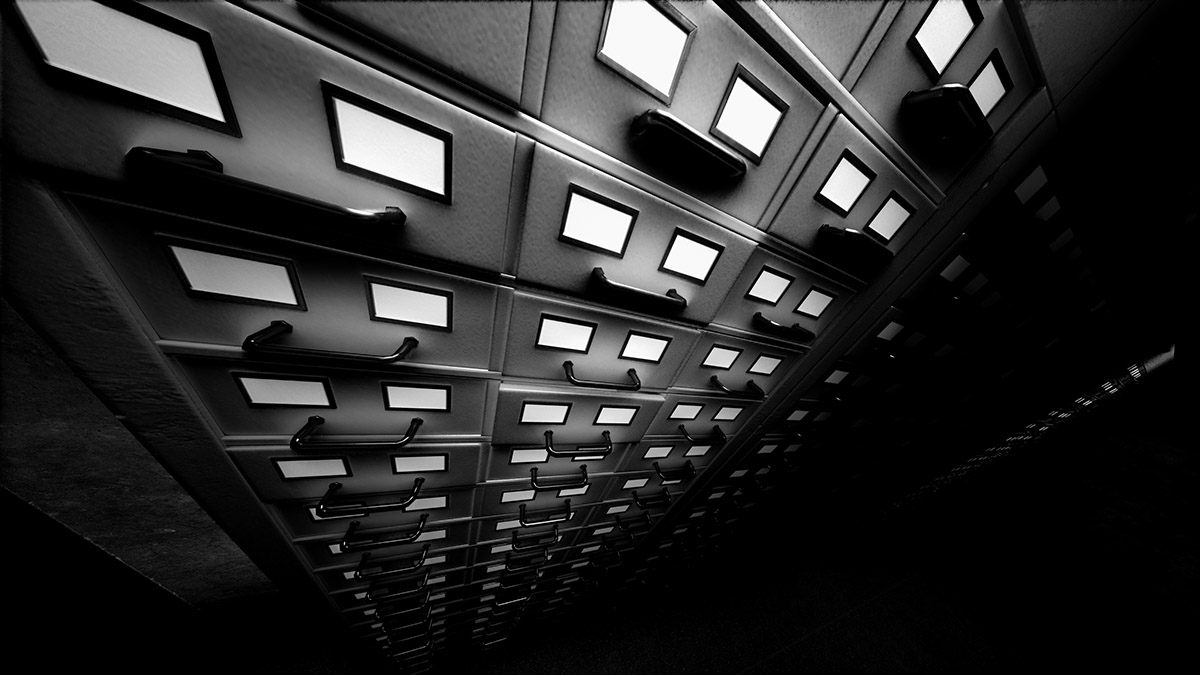
A higher contrast can be good for images with backlighting (when there is a strong light-source facing the direction of the camera) and you want to emphasize things like the silhouette of a person. Stronger contrast is also an easy way to improve black and white photos.
Lowering the difference makes the transition between brighter to darker areas smoother. This pairs well when expressing a sense of delicateness, ephemerality, or nostalgia. You can also soften shadows that have photographed too harsh by lowering the contrast.
Aside from exposure and contrast, a vignette can sometimes be applied as well. Increasing the vignette will darken the four corners of your image. This has the effect of drawing the viewer’s gaze to the center of the screen.
Color and its effects
When it comes to adjusting colors in photo modes, the types of settings can be broadly put in three categories: 1. Those that only have filters, 2. Those that have filters, and can adjust the intensity of the filter and 3. Those that adjust only color (to be precise, filters can adjust not only color but contrast and texture as well).

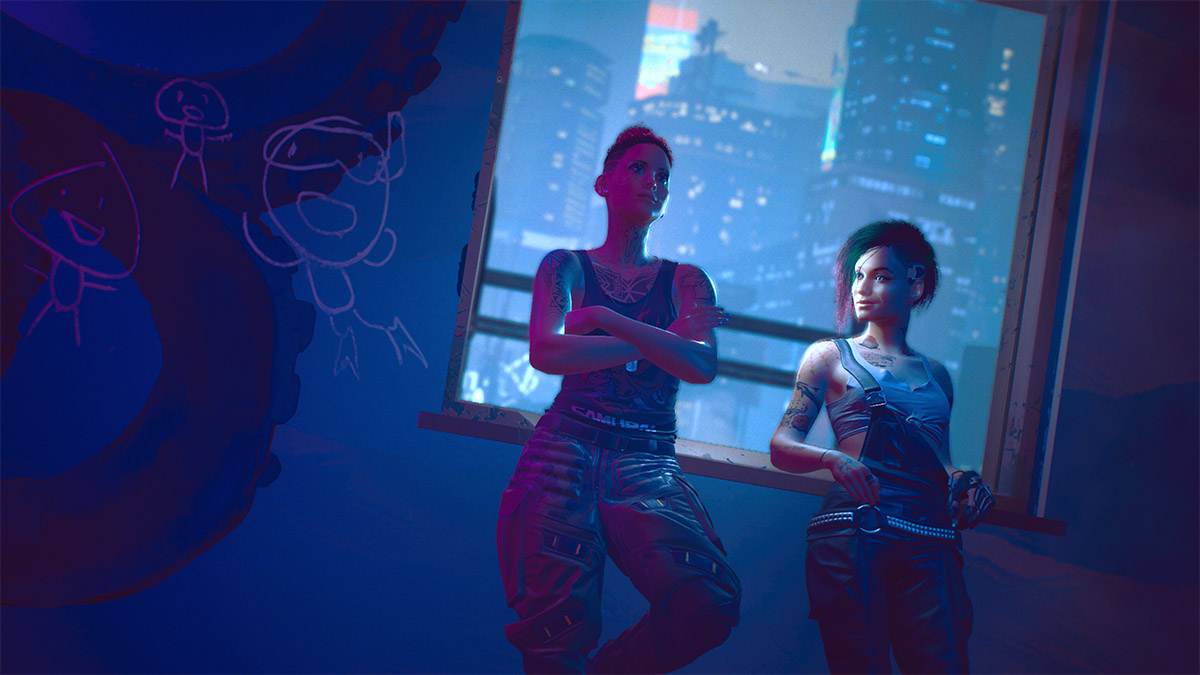
Cyberpunk 2077 is one example of the first type of setting. Because the strength of the filter cannot be adjusted, it is a simple process of deciding whether to apply the filter or not. Though the filter itself cannot be adjusted, adjusting other settings such as brightness after applying the filter can help to add some finishing touches.
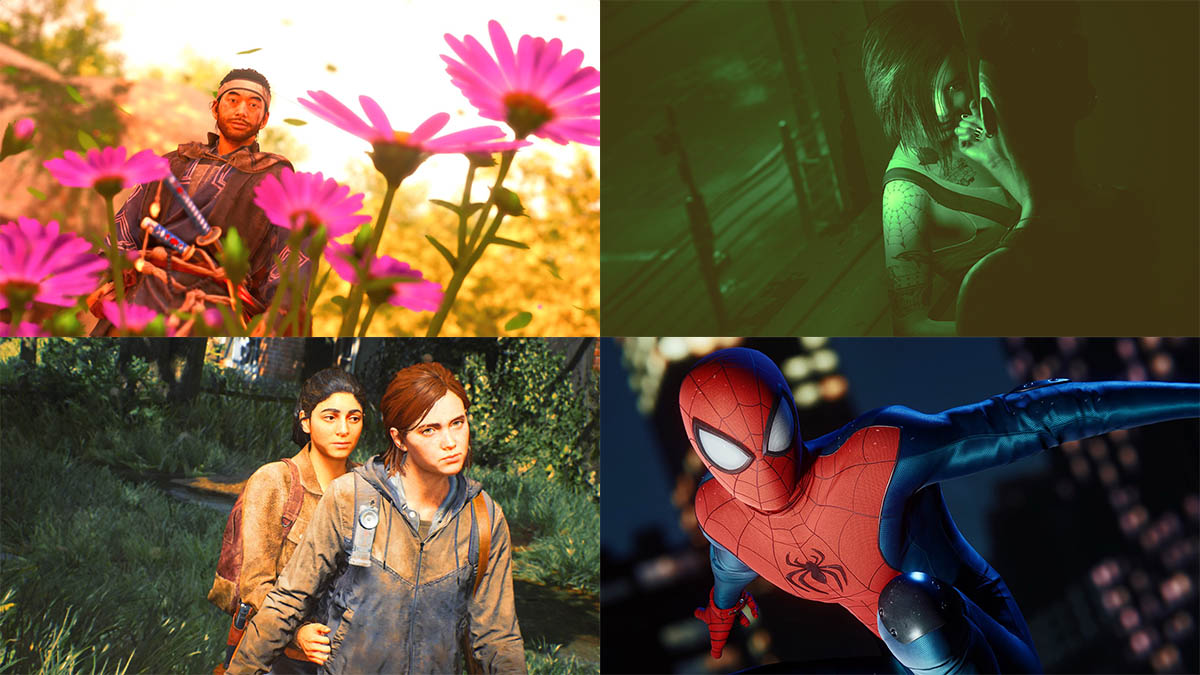
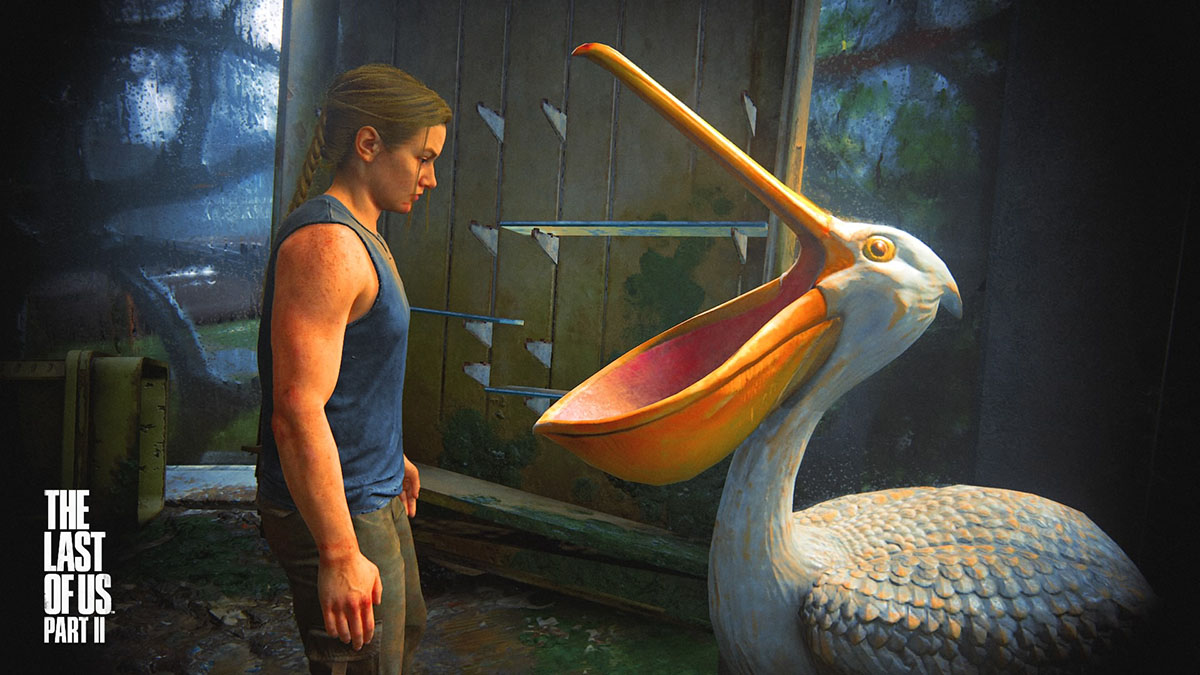
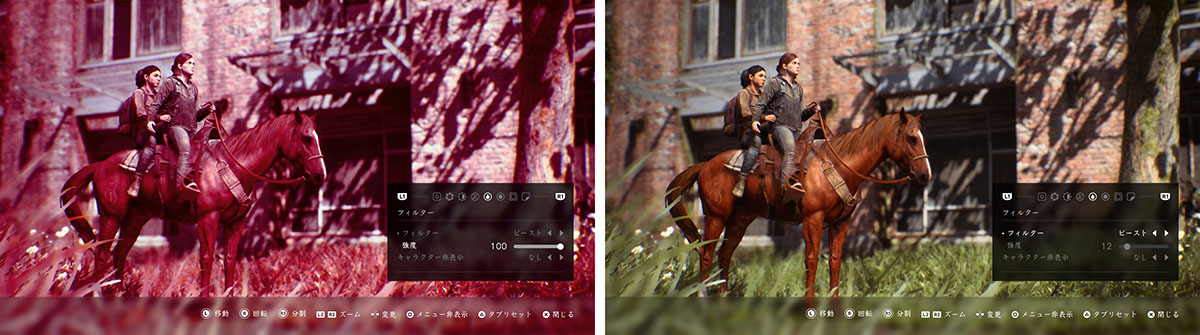
Many games use the second type of setting with filters that can be adjusted. Titles such as Ghost of Tsushima, Death Stranding, and The Last of Us Part II , all which have been heavily featured as examples in this series, use this type of setting.
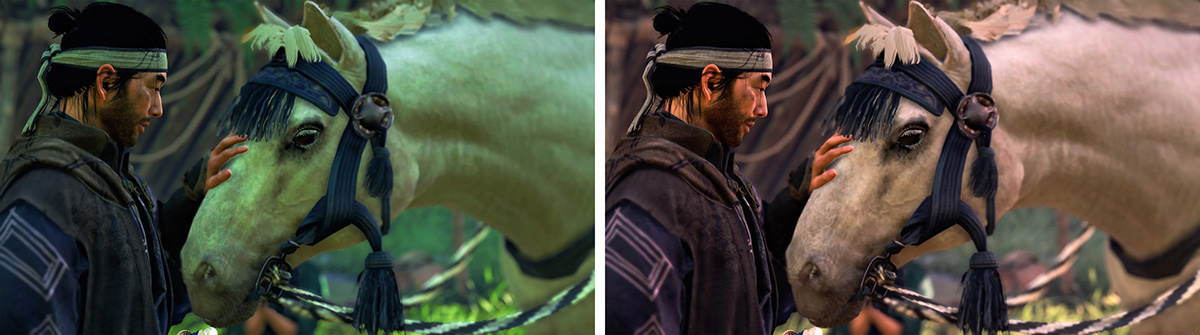
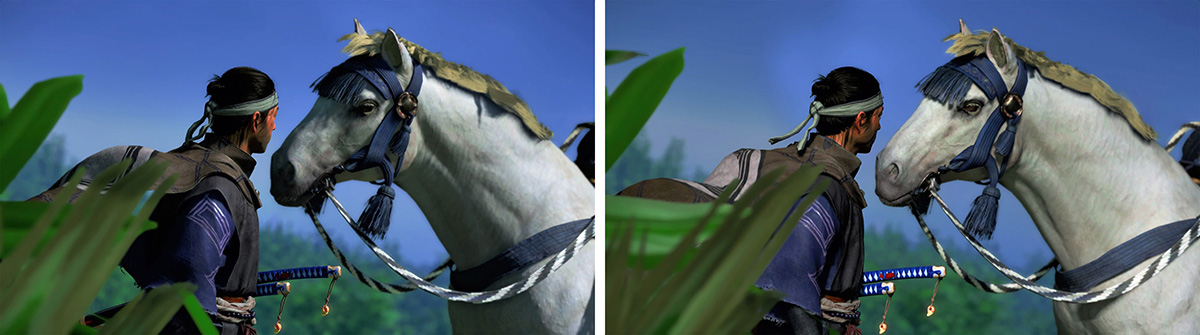
Generally, you want to pick a filter with an effect close to what you want, but you can also use a filter to lessen the effect of opposite colors. The below example photo from Ghost of Tsushima uses this technique. The photo before adjustment has a strong green coloring, and by applying the “samurai red” filter (known as color grading in-game) with low intensity, it has been adjusted to have some warmth.
Assassin’s Creed Valhalla is one example of the third type of setting. (This title has filters as well, however the filters are more like presets that adjust settings to achieve a certain effect. Various settings such as color, brightness, and depth of field (amount of blur) are made to reflect the selected filter.) Color temperature (adjusting between yellows to blues) and color balance (adjusting between magentas to greens) can be changed without affecting other settings.
Manipulating the sun for “time” and “weather”
Depending on the title, some photo modes allow you to change factors such as the time of day, or the weather. These settings can also be used to adjust brightness and color.
However, what is actually changing is the position or intensity of the sun. In other words, it would be a setting that allows for adjusting the biggest light source on-screen. Unless you are capturing inside a windowless room, the sun can affect both your subject and background.

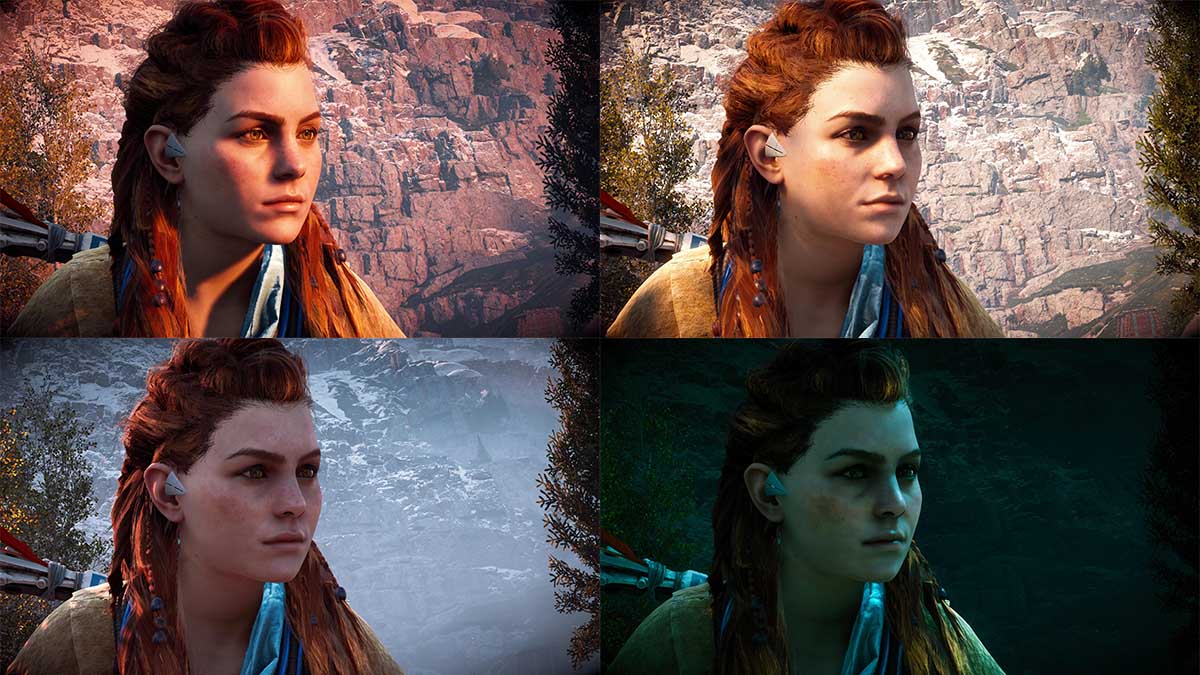
Manipulating the time of day allows for controlling the amount of light hitting your subject or background by changing the angle of light coming from the sun (or the moon). Additionally, the overall coloring will change according to the time of day. Early morning and evening are good times for taking dramatic shots; the entire screen can be painted in the colors of the sunrise or sunset, and shadows gain some directionality due to the sun’s low position.
When manipulating weather, not only are you changing the colors according to the weather, but you are also controlling the intensity of light coming from the sun (or moon). The “fog” setting available in titles such as Ghost of Tsushima and Assassin’s Creed Valhalla add a fog over the background, which softens both light and shadows. This can be useful for situations where you may want to keep the background simple.
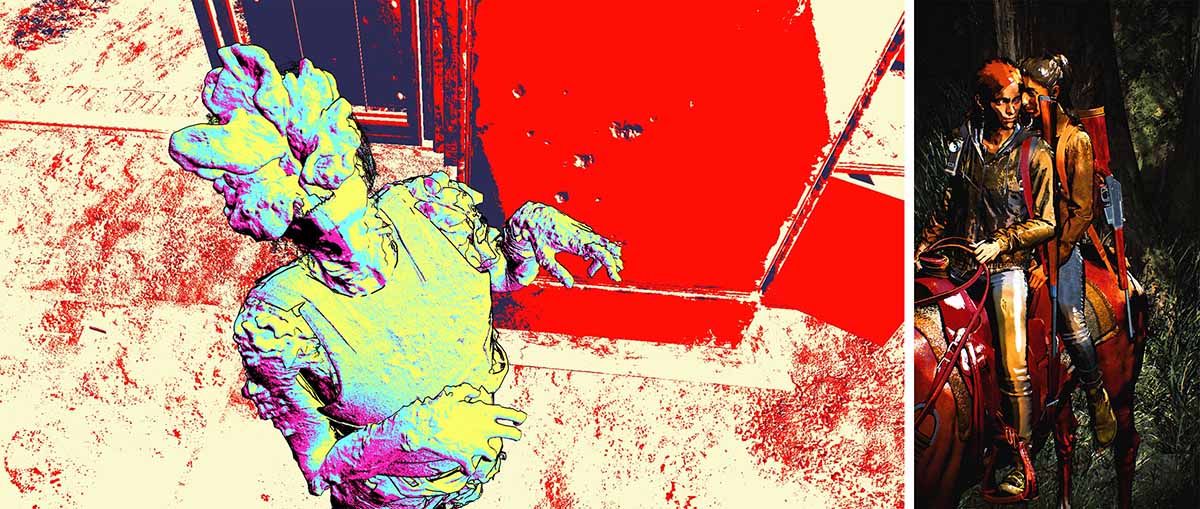
Adjusting the display mode of the graphics is also a setting that affects brightness and color. You can take some interesting shots by changing the graphics display itself in-game, such as changing to the rendering mode in The Last of Us Part II or screen mode in Ghost of Tsushima.
Side-topic: Playing with lighting
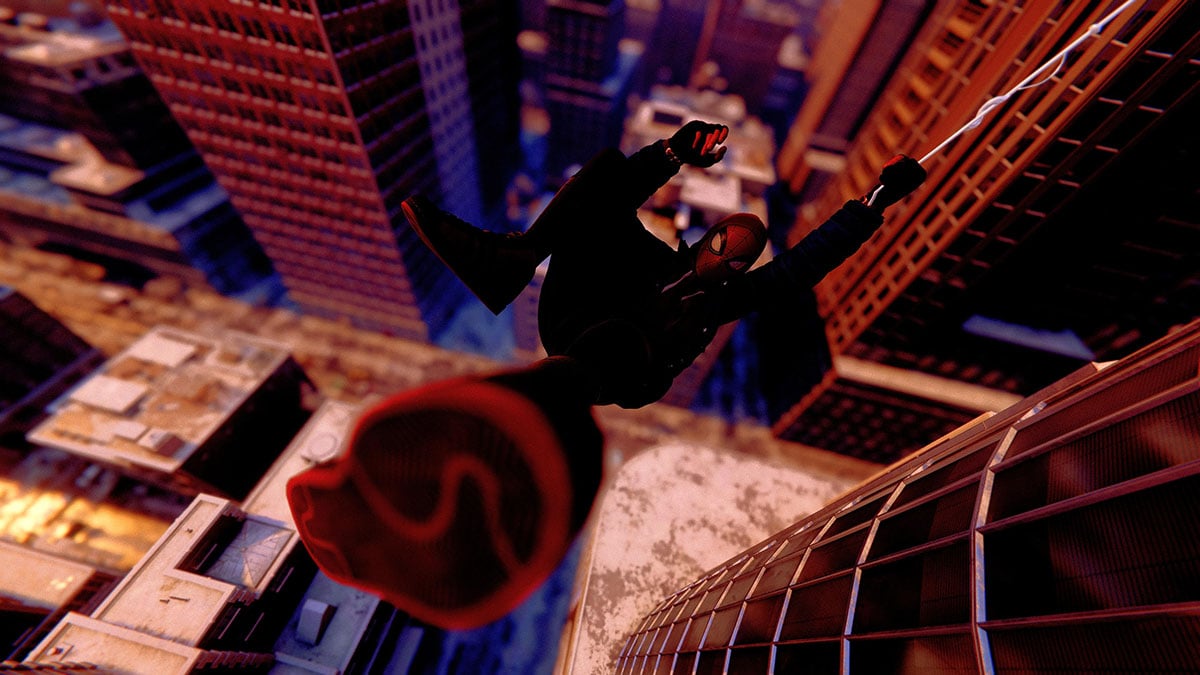
Though there are only a few at the time of writing this article, some games allow for additional light sources in their photo modes (these titles include Marvel’s Spider-Man: Miles Morales, Star Wars Jedi: Fallen Order). Being able to adjust lighting in photo modes allows you to take photos where the character is the star, while maintaining a background you like. First, let’s go over “light” when there is no lighting function.
Both the subject and background can look completely different based on how the light is hitting them. Even without lighting functions, as mentioned before you can change the “light” by manipulating the time of day or weather and change the impression the subject gives off as well.
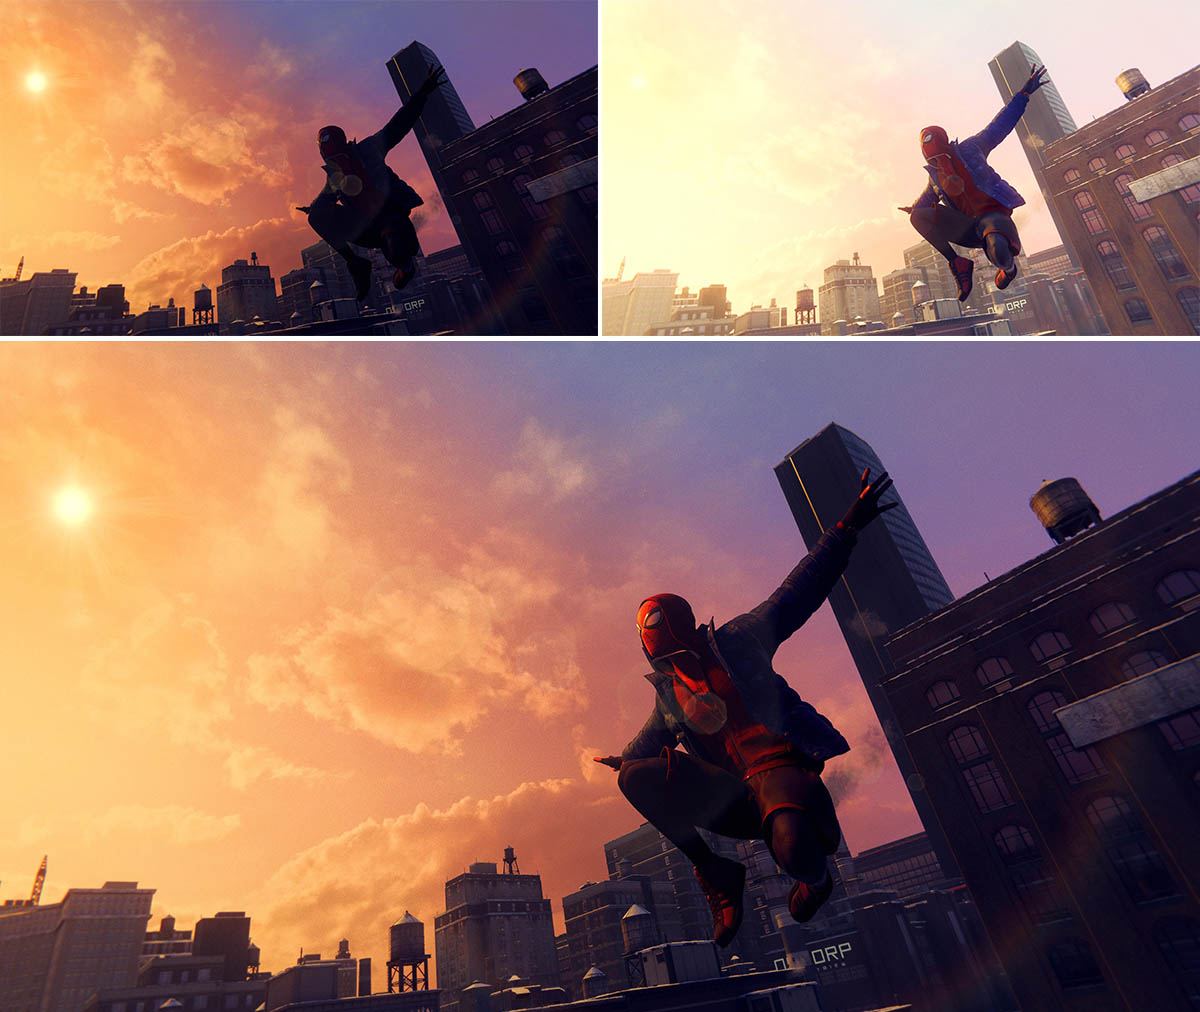
However, some things cannot be solved only with time of day and weather. Because the light changing with these settings affects both the subject and background, there are times when the lighting you want for the subject and how you want the background to look do not line up. For example, when you want to use a sunset background, but the subject looks too dark.
Bottom : Adding light
By utilizing lighting functions, you can keep your subject in the spotlight while maintaining the background you want. We’ll go over lighting using Marvel’s Spider-Man: Miles Morales, which has fleshed-out lighting functions.
The overall steps are to: 1. Decide the composition and background, 2. Light up your subject, 3. Adjust the shot as a whole. Whether the background is brighter or darker than the subject, the steps are done in the same order.
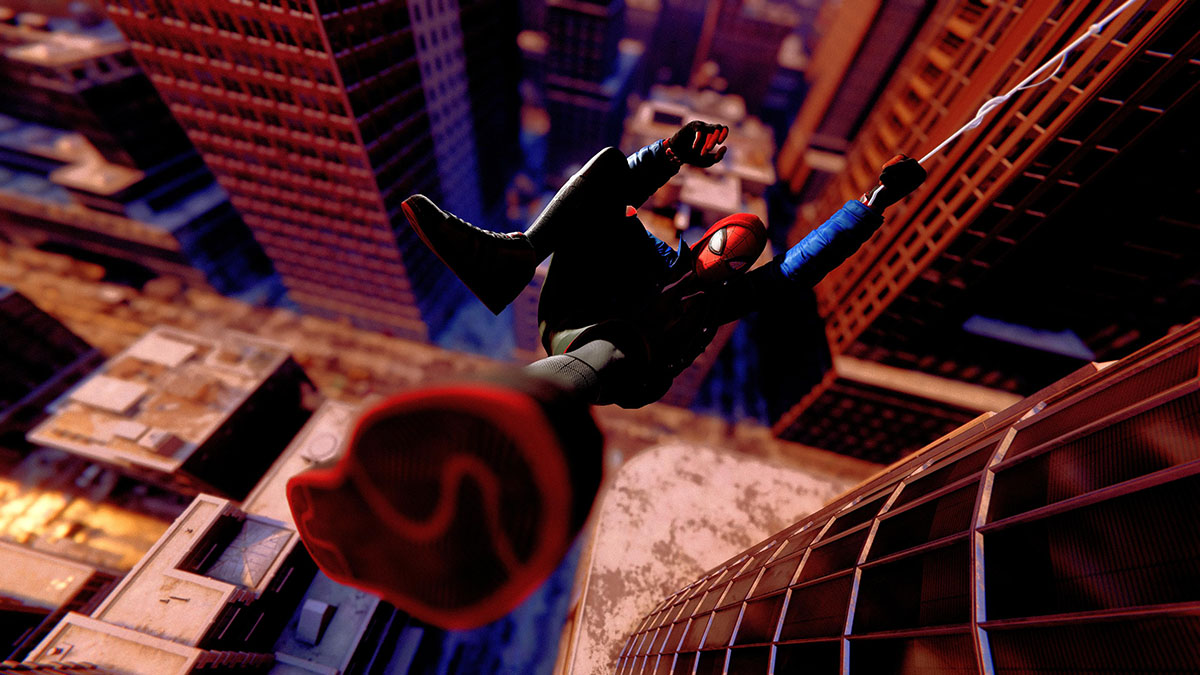
First, decide the composition and adjust the settings so the background is to your liking. Next, add the main light to your subject. The main light’s purpose is to determine the overall way your subject shoots. If you’re lost on where to place the light, placing it towards the subject from the front side of the screen at an angle from either the top-left or top-right will often look natural.
When you light something, there will be shadows. Make sure to look closely at the shapes of the shadows created by the lighting and look out for any unnecessary shadows. You could leave the shadows as-is, but they can also be adjusted by adding an additional light source (Marvel’s Spider-Man: Miles Morales allows for up to three light sources). Here, we’ll add two sub-lights.
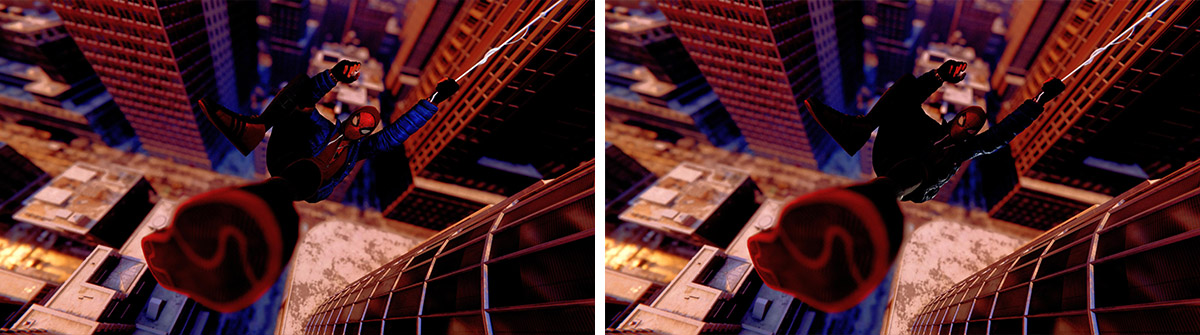
To better see the places where the light hits and its strength, we’ll turn off the main light and set them up. Sub-light A is adjusted to slightly brighten up the shadows overall with the head of the subject in the center. With this, the shadows look slightly softened. Sub-light B is to emphasize the outline of the shadows (in the example photos, part of the jacket). With this, the subject and background are clearly distinct.
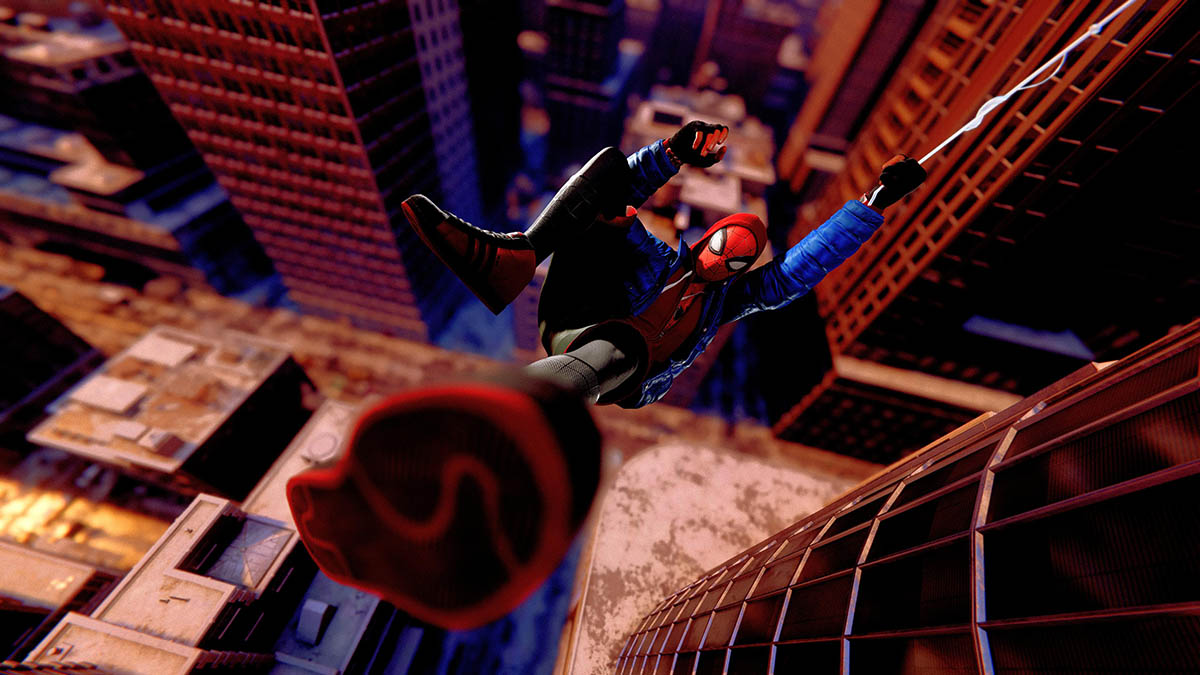
Lastly, we turn on all the light sources and adjust the overall balance. It’s important to check if the sub-lights are interfering with the main light. The example photo uses three lights, but we recommend starting out by testing one or two light sources. There will be less confusion if you focus only on the main light, or the relationship between just the main and one sub-light.
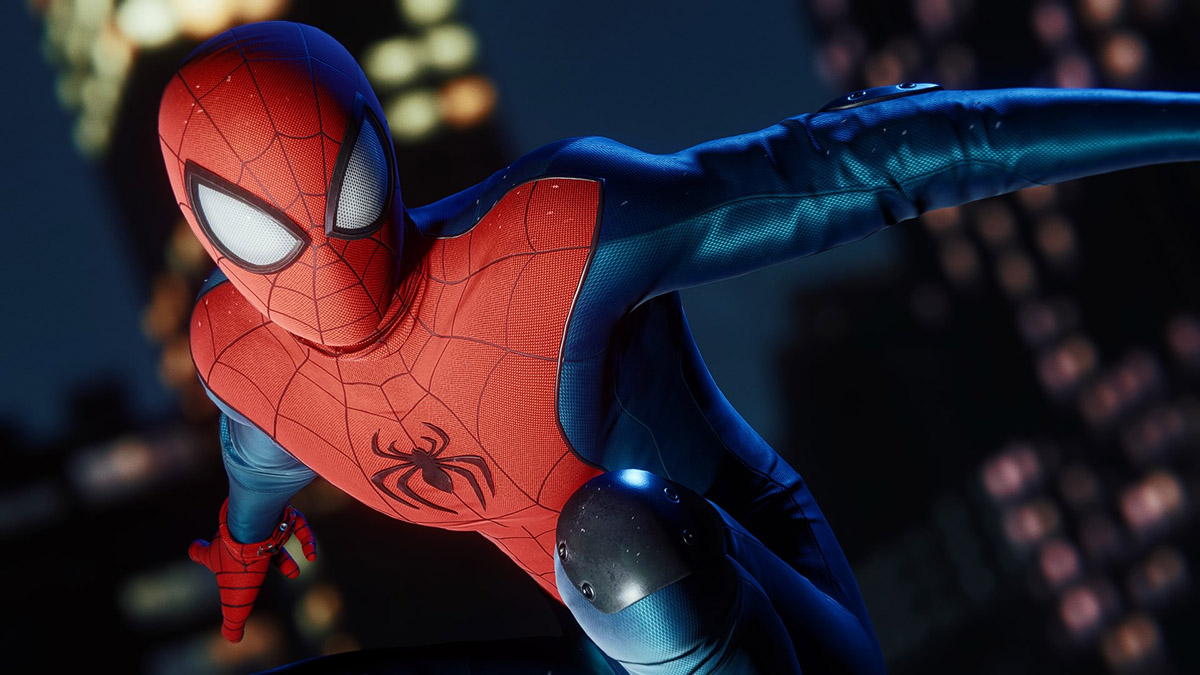
As mentioned previously, there are only a handful of titles with lighting functions. Playing around with the lighting settings as shown in this article are only possible because of the flexible lighting functions of Marvel’s Spider-Man: Miles Morales.
In conclusion
Over three installments, we have gone over how to use photo modes for beginners. The first installment on AOV and composition detailed the often looked-over uses of zoom functions. The second installment on focus went over how to adjust focus and create the bokeh effect. This third installment on retouching covered the changes to impression made through brightness and color, as well as lighting.
Determining AOV and composition are for cutting out what you want to capture on screen. Adjusting focus is for emphasizing what you want people to see. Retouching is for controlling the impression your photo gives and finishing touches.
All of these techniques are then used to improve how the very important “moment you enjoy” photographs look. We hope you can use the topics we have covered until now to capture those personal moments you run into while playing a game.
Related Articles:
Understanding Angle of View & composition
How to create a cinematic bokeh effect