Publication date of the original Japanese article: 2021-05-03 11:59 (JST)
Translated by. Sachi Salehi
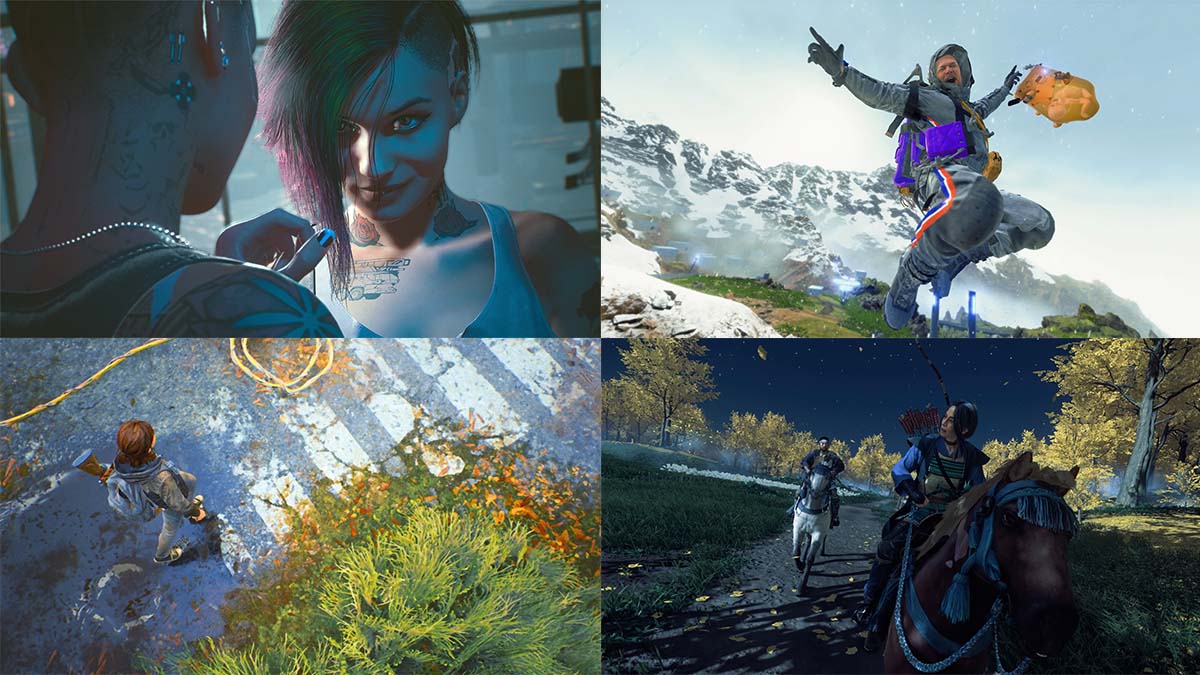
When playing a game, there are many memorable moments to be experienced while viewing the beautiful scenery, while having a fun moment, during incredible battle scenes, the list goes on. Though you can use a screenshot to quickly capture those moments, there is also the option of using a photo mode. The beauty of a photo mode lies in its ability to further highlight the moments that really matter to each player.
Many games feature a photo mode, however there may be those who don’t quite know how to use them, or those who are using them just based on their instincts. In this article, using the author’s background as a dance photographer we’ll go over how to use photo modes for those who are unfamiliar with photography.
This first installment will cover “Angle of View” (AOV), which is how much of the area will be captured, and composition. More specifically, we’ll go over how to make use of “zoom” functions, and the difference that amount of zoom can make in how your captures look.
Related Articles:
How to create a cinematic bokeh effect
How to adjust brightness and colors with retouching
The “zoom” function isn’t a simple expand/shrink tool
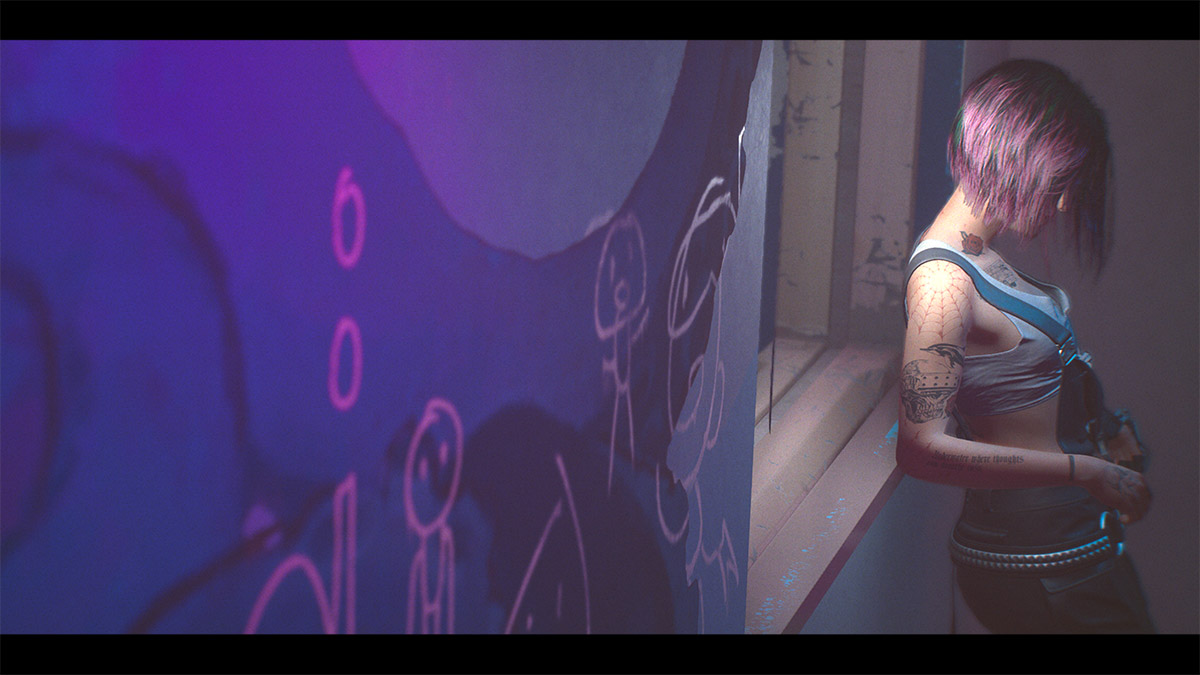
What is the first thing you do when booting up photo mode? You probably adjust the position of the camera. Upon finding a nice angle, you probably adjust the subject (what you want to capture) to be the right size within the frame. The “right size” can be achieved by moving the position of the camera itself or using zoom functions.
Moving the camera itself is just that, moving the camera itself closer to or father from the subject. Zoom functions allow for the size of the subject in the photo to be adjusted without moving the camera itself. However, zoom functions aren’t simply tools for expanding/shrinking. The amount of zoom you use can significantly change the outcome of your photos.


Each of these shots were taken so that they were at the same moment, with the subject being roughly the same size, adjusting the amount of zoom used. The way the background appears in contrast to the subject, and even the subject themselves photograph differently. In this way, zoom functions can not only expand/shrink subjects, but control how things photograph overall.
Setting types differ in different titles
Before going in depth on how thing photograph, you should understand that there are different types of settings related to zoom functions in different titles. In photo modes where the amount of zoom is controlled by a value, the zoom function may be called something like “focal length” or “field of view”, however the high and low values of these settings each have differing effects.
These names for the settings broadly fall into two different categories: those that relate to “distance” and those that relate to “range”. Depending on which naming type a game uses, the values that achieve the desired effect will be opposite. If it is a setting name that expresses distance, such as “focal length” “(number)+mm”, the higher the value the more zoomed in you will be. If it is a setting name that expresses range, such as “field of view” or “field of vision”, the higher the value the more zoomed out you will be.
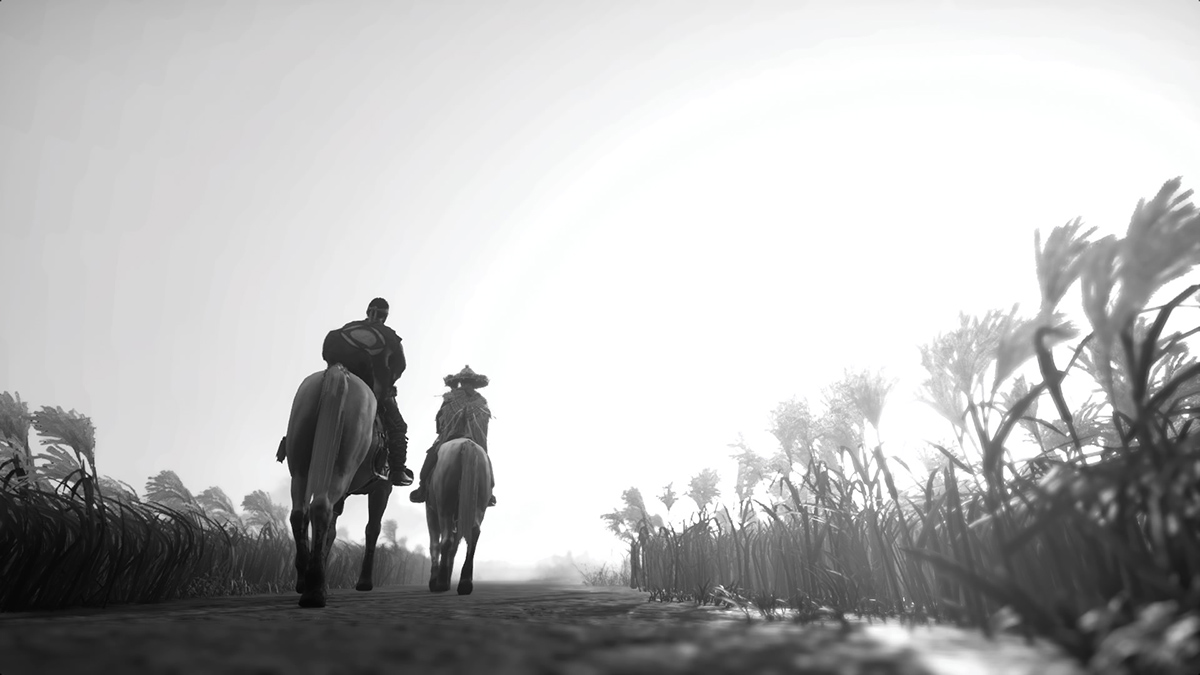
As for why there are these different names, one way to look at it is that in order to name a function that allows for the subject to photograph larger, you could interpret that as a function which photographs something far larger (increasing the value), or you could interpret it as decreasing the range of what is being photographed (decreasing the value). However, there are also photo modes where zoom functions are not controlled by values, but have certain buttons allocated for zooming in and out (*1).
As it is easier to visualize from the term “zoom”, this article will be discussing topics under the assumption that a game is using a distance type zoom setting. Some titles that use this distance type setting include Ghost of Tsushima and Death Stranding. When applying these concepts to a game with a range type setting in photo mode(*2) , keep in mind that the effects of large/small values will be opposite.
*1 Titles such as Assassin’s Creed Valhalla
*2 Titles such as The Last of Us Part II, Marvel’s Spider-Man: Miles Morales, Cyberpunk 2077, Star Wars Jedi: Fallen Order, Control
What exactly changes with different zoom values?
Using the same condition of photographing the subject at roughly the same size, the outcome can change depending on the zoom settings. Working in the order of first adjusting the zoom value to achieve your desired effect, then moving the position of the camera should keep things simple.
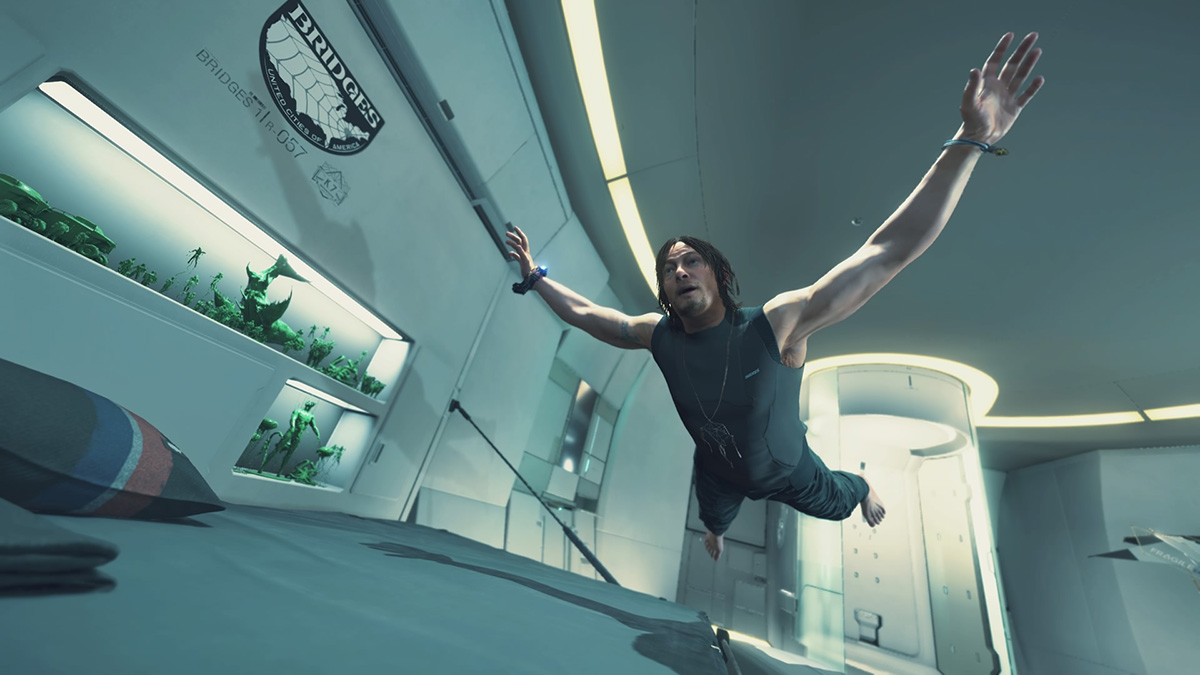
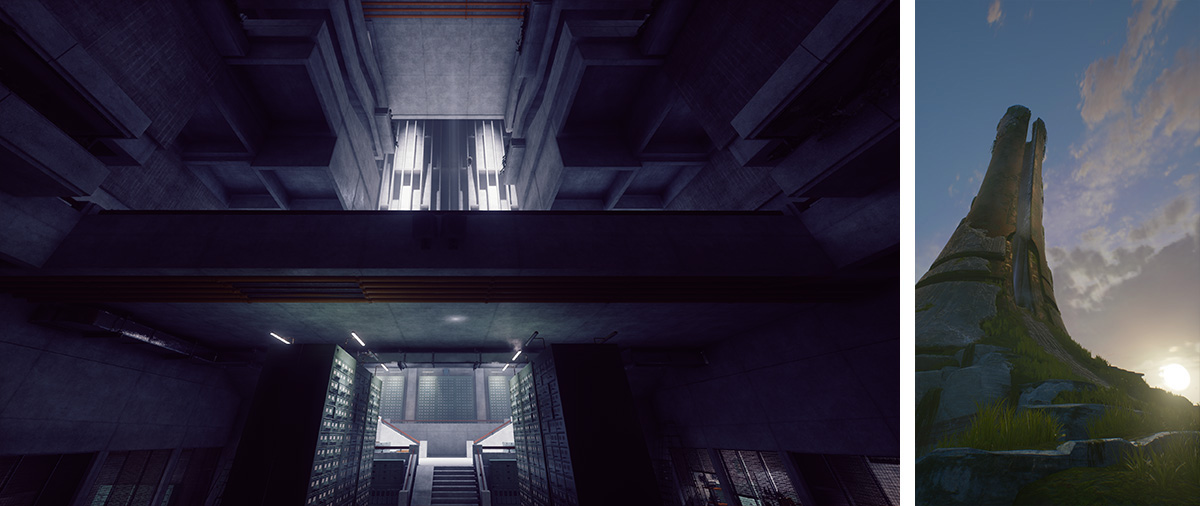
As the values of “focal length” or “(number)+mm” decreasing, the perspective is emphasized, and the environment looks more spacious. This technique works well for trying to capture the vastness of the landscape, or effectively capturing the height of buildings. You can also easily achieve a dynamic and impactful photograph, because things that are closer will appear much larger, and things that are farther will photograph smaller.
One area to pay attention is the edges of the screen. The edges of the photograph will look warped, so it’s better to avoid positioning something like a face near the edge of the screen. Additionally, because you can photograph a lot at once, it may be hard to keep track of what exactly you are trying to capture.


The more that zoom is increased, the more that things in the background appear closer. Using this effect, you can adjust the apparent distance of items that are overlapping and make them appear closer than they are. This relates a little to lens focus as well, but the more you zoom the more you can create a blurring effect on the background. Blurring the background creates more focus on the subject of the photo.
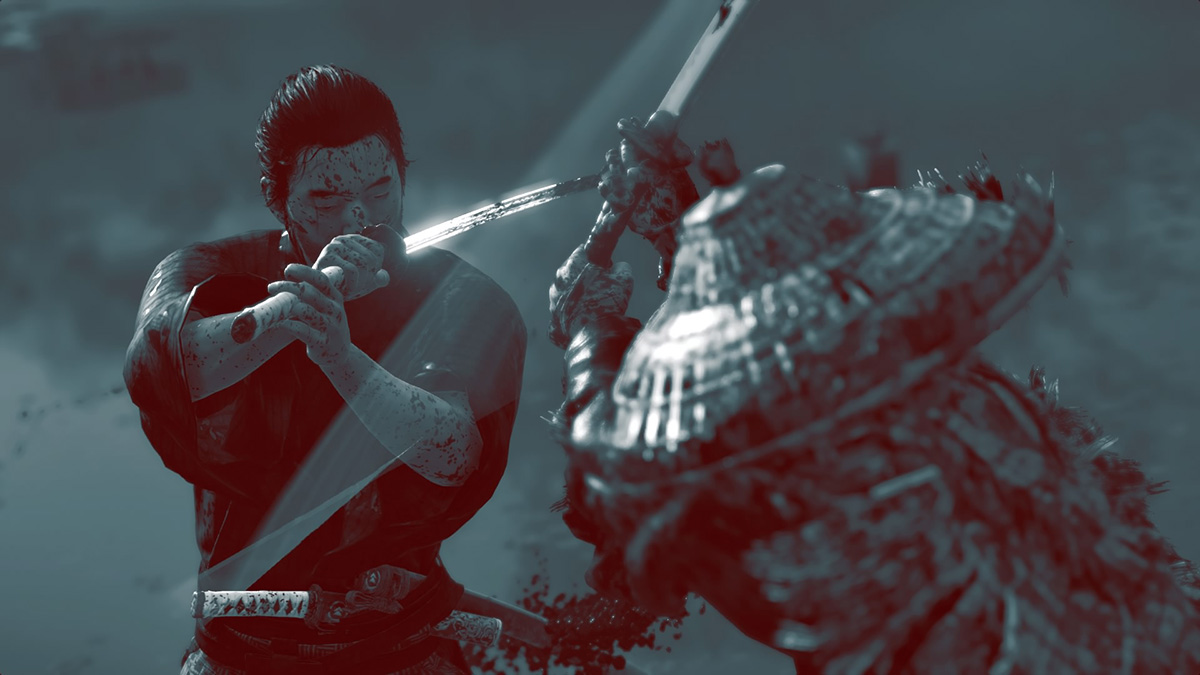
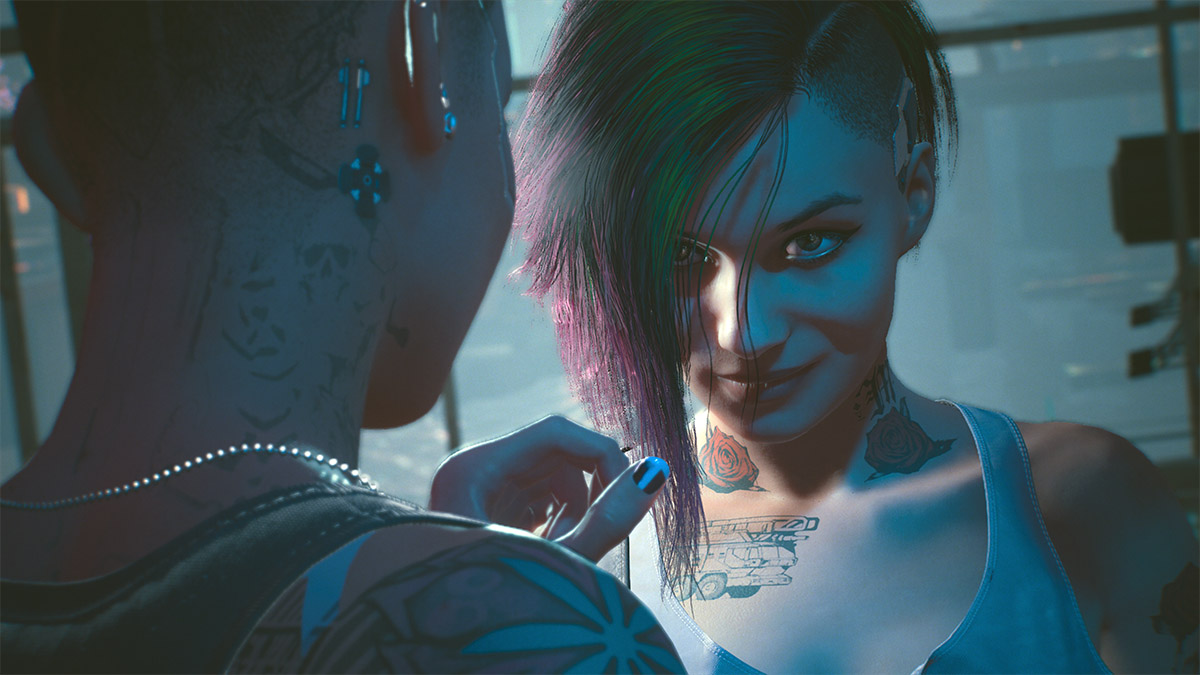
However, the more you zoom in, the more it becomes necessary to distance the position of the camera from the subject. Because of this, camera positions can be blocked off by walls or other objects. Small rooms or spaces with many objects can limit the use of positioning.
On top of that, regardless of how much you are zooming, a photo mode with limited camera positioning may not allow for full use of the zoom effects covered in this article. For example, in Animal Crossing: New Horizons the camera position is limited to three different heights, so zooming would be used only for adjusting the size of subjects.
Unsure about composition?
If you’re not sure about the composition of your photo, try looking at the subject from various angles. There may be some discoveries you make that would be hard to catch during actual gameplay. For example, try photographing something from the bottom as if to look up at it, or photograph a subject from directly above. Angling the camera by 90 degrees can also allow you to photograph in portrait instead of landscape.
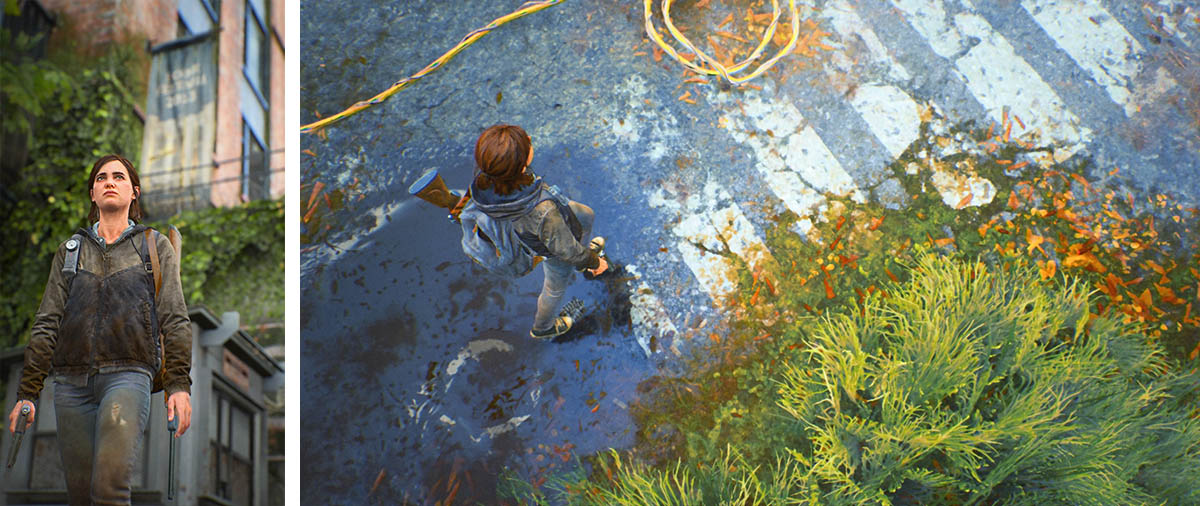
You might end up a little lost when trying to decide where and what size to place the subject at within the frame. To create something that looks “good” and “interesting”, it’s important to first avoid including anything unnecessary in the frame. But don’t think too hard about what is “unnecessary”, try starting from whatever is barely cut off at the edges of the frame.
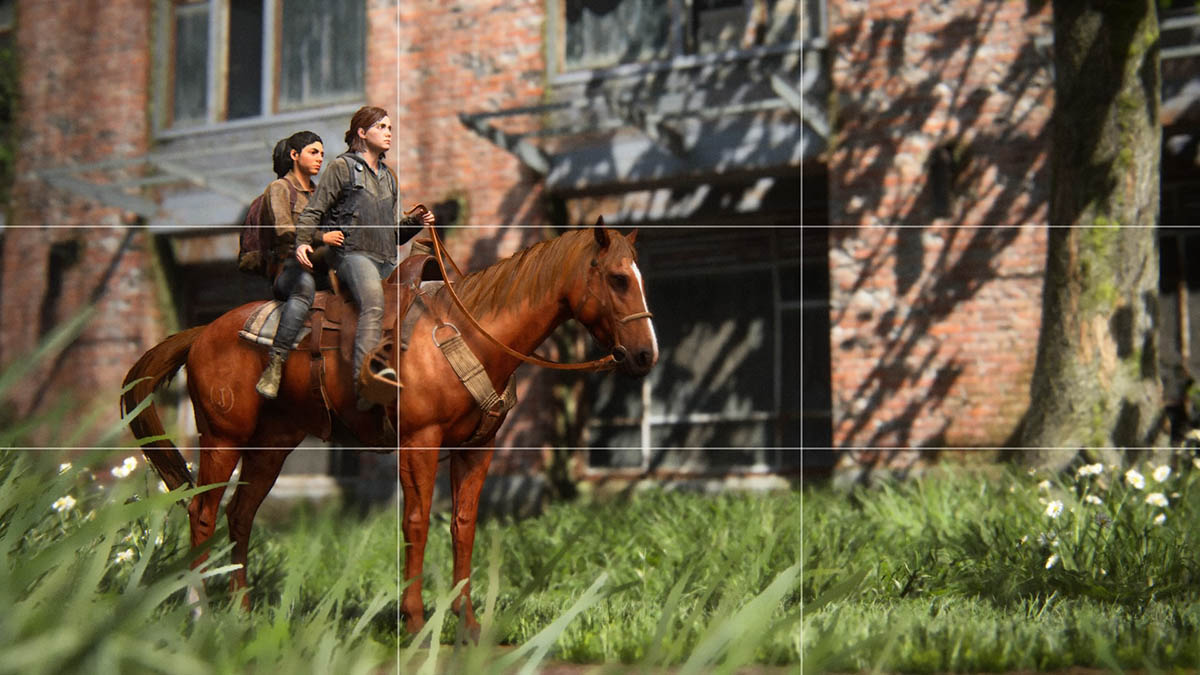
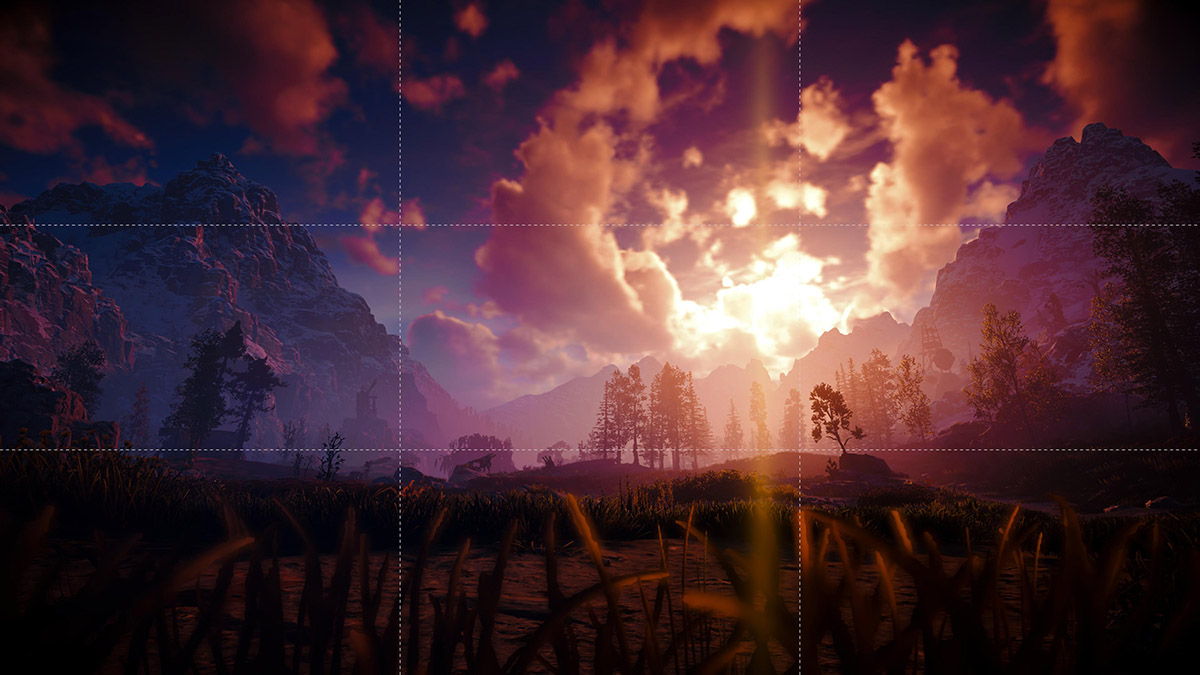
Additionally, many photo modes include a guide function to help decide compositions known as a “grid”. The author’s recommendation is a three by three grid. A composition can easily be balanced out by placing the focal point of your photograph in the areas where the vertical and horizontal lines cross or lining up the horizon with a horizontal line. This can be helpful for those who find themselves photographing their subject in the center of the frame.
Though the three by three grid is great for general use, it may not always be the best for the exact photograph you are aiming for. It is only a guide, so use it as a tool to help you find a composition that you like.
This article went over how you can control the outcome of a photo by adjusting the area of capture and zoom. We hope that you can use zoom functions not only for expanding/shrinking but adjust them for the photo you want to take and play around with various settings. The next installment will cover tips related to “focus” and background blurring.
Related Articles:
How to create a cinematic bokeh effect
How to adjust brightness and colors with retouching

